AstroPitography
Astrophotography + Raspberry Pi HQ camera = AstroPitography
Request Feature
Table of Contents
About AstroPitography

Astrophotography is an expensive pastime, scopes, driven mounts, cameras, eyepieces, etc… I have always enjoyed squeezing as much performance out of more limited hardware to see what the end results can be; so when the £50 Raspberry Pi High Quality camera was released I wanted to see how it handles astrophotography. It will certainly not beat a top of the line DSLR or a ZWO camera which are several orders of magnitude more expensive and refined, but I wanted to see what can be achieved. I wrote this simple Python program to act as a basic GUI for when I am out with my telescope. The Raspberry Pi 3B+ and HQ camera were mounted together and using a 1.25 inch to C adapter sits in the telescope eyepiece position. I set up the Raspberry Pi to act as a wireless access point and connect to its network via VNC on my phone to conveniently interface with the GUI. A small Raspberry Pi screen will also work great or just hooking it up to a regular monitor.
I had originally used stellarmate with kstars etc… but wanted a simpler way to interface with the HQ camera. This is only the first iteration of the program which currently has the following features:
- Control important settings of the camera:
- Brightness
- Contrast
- Saturation
- Sharpness
- Exposure (shutter speed in this instance)
- Time delay between images
- Show a live preview of the camera view in the main window; useful for making sure something is in frame.
- Ability to enlarge and shrink the live preview using GUI buttons.
- Ability to overlay a crosshair on the live preview, useful for alignment.
- Toggle greyscale imaging (useful if using colour filters) and auto white balance correction.
- Allows for capturing of single images, multiple images with time delay and long exposure imaging.
- When a picture is taken it is visible from the top menu.
- If it is a poor image it can be deleted from within the program.
- The default save location can be selected from within the program window; handy for saving to USB stick etc… especially for large RAW files.
- Timed video capturing.
- The image save format is
RAW, preferred overpngwhich processes the image.pngis used when showing the most recent image taken.- An option is provided to extract the RAW image information from the .jpg file and saved as a dng file using PiDNG.
Built With
Uses (Not endorsements or sponsors, just where I purchased them from)
In theory any Raspberry Pi should work, along with the other various Raspberry Pi cameras.
Getting Started
It is a self contained Python program. Type:
python3 AstroPitography.py
into a terminal on your raspberry pi to run the program and start taking pictures and videos. Editing your .bashrc can allow for the program to begin on startup. You can specify the image save location from the menu button at the top of the window.
Note:
My Raspberry Pi’s resolution was set to 1600 x 900, 16:9 which you may want to replicate when using the program. I plan to generalize the code for any resolution in the future.
Dependencies
Below are some key dependencies and library versions to run AstroPitography:
picamera==1.13
pidng==3.4.7
Pillow==8.4.0
PySimpleGUI==4.55.1
Roadmap
- More testing (when the skies finally improve here in rainy UK!)
- Allow for fractional variability in shutter speed (simple to implement)
- Improve framerate of live preview. [completed]
- Improve features of video implementation.
- The ability to load camera presets for different objects (e.g. planetary, deep sky etc…)
- Automatic image stacking capability.
Contact
Adam Baskerville - @@SciBaskerville - adamlukebaskerville@gmail.com
Project Link: https://github.com/adambaskerville/AstroPitography
Examples
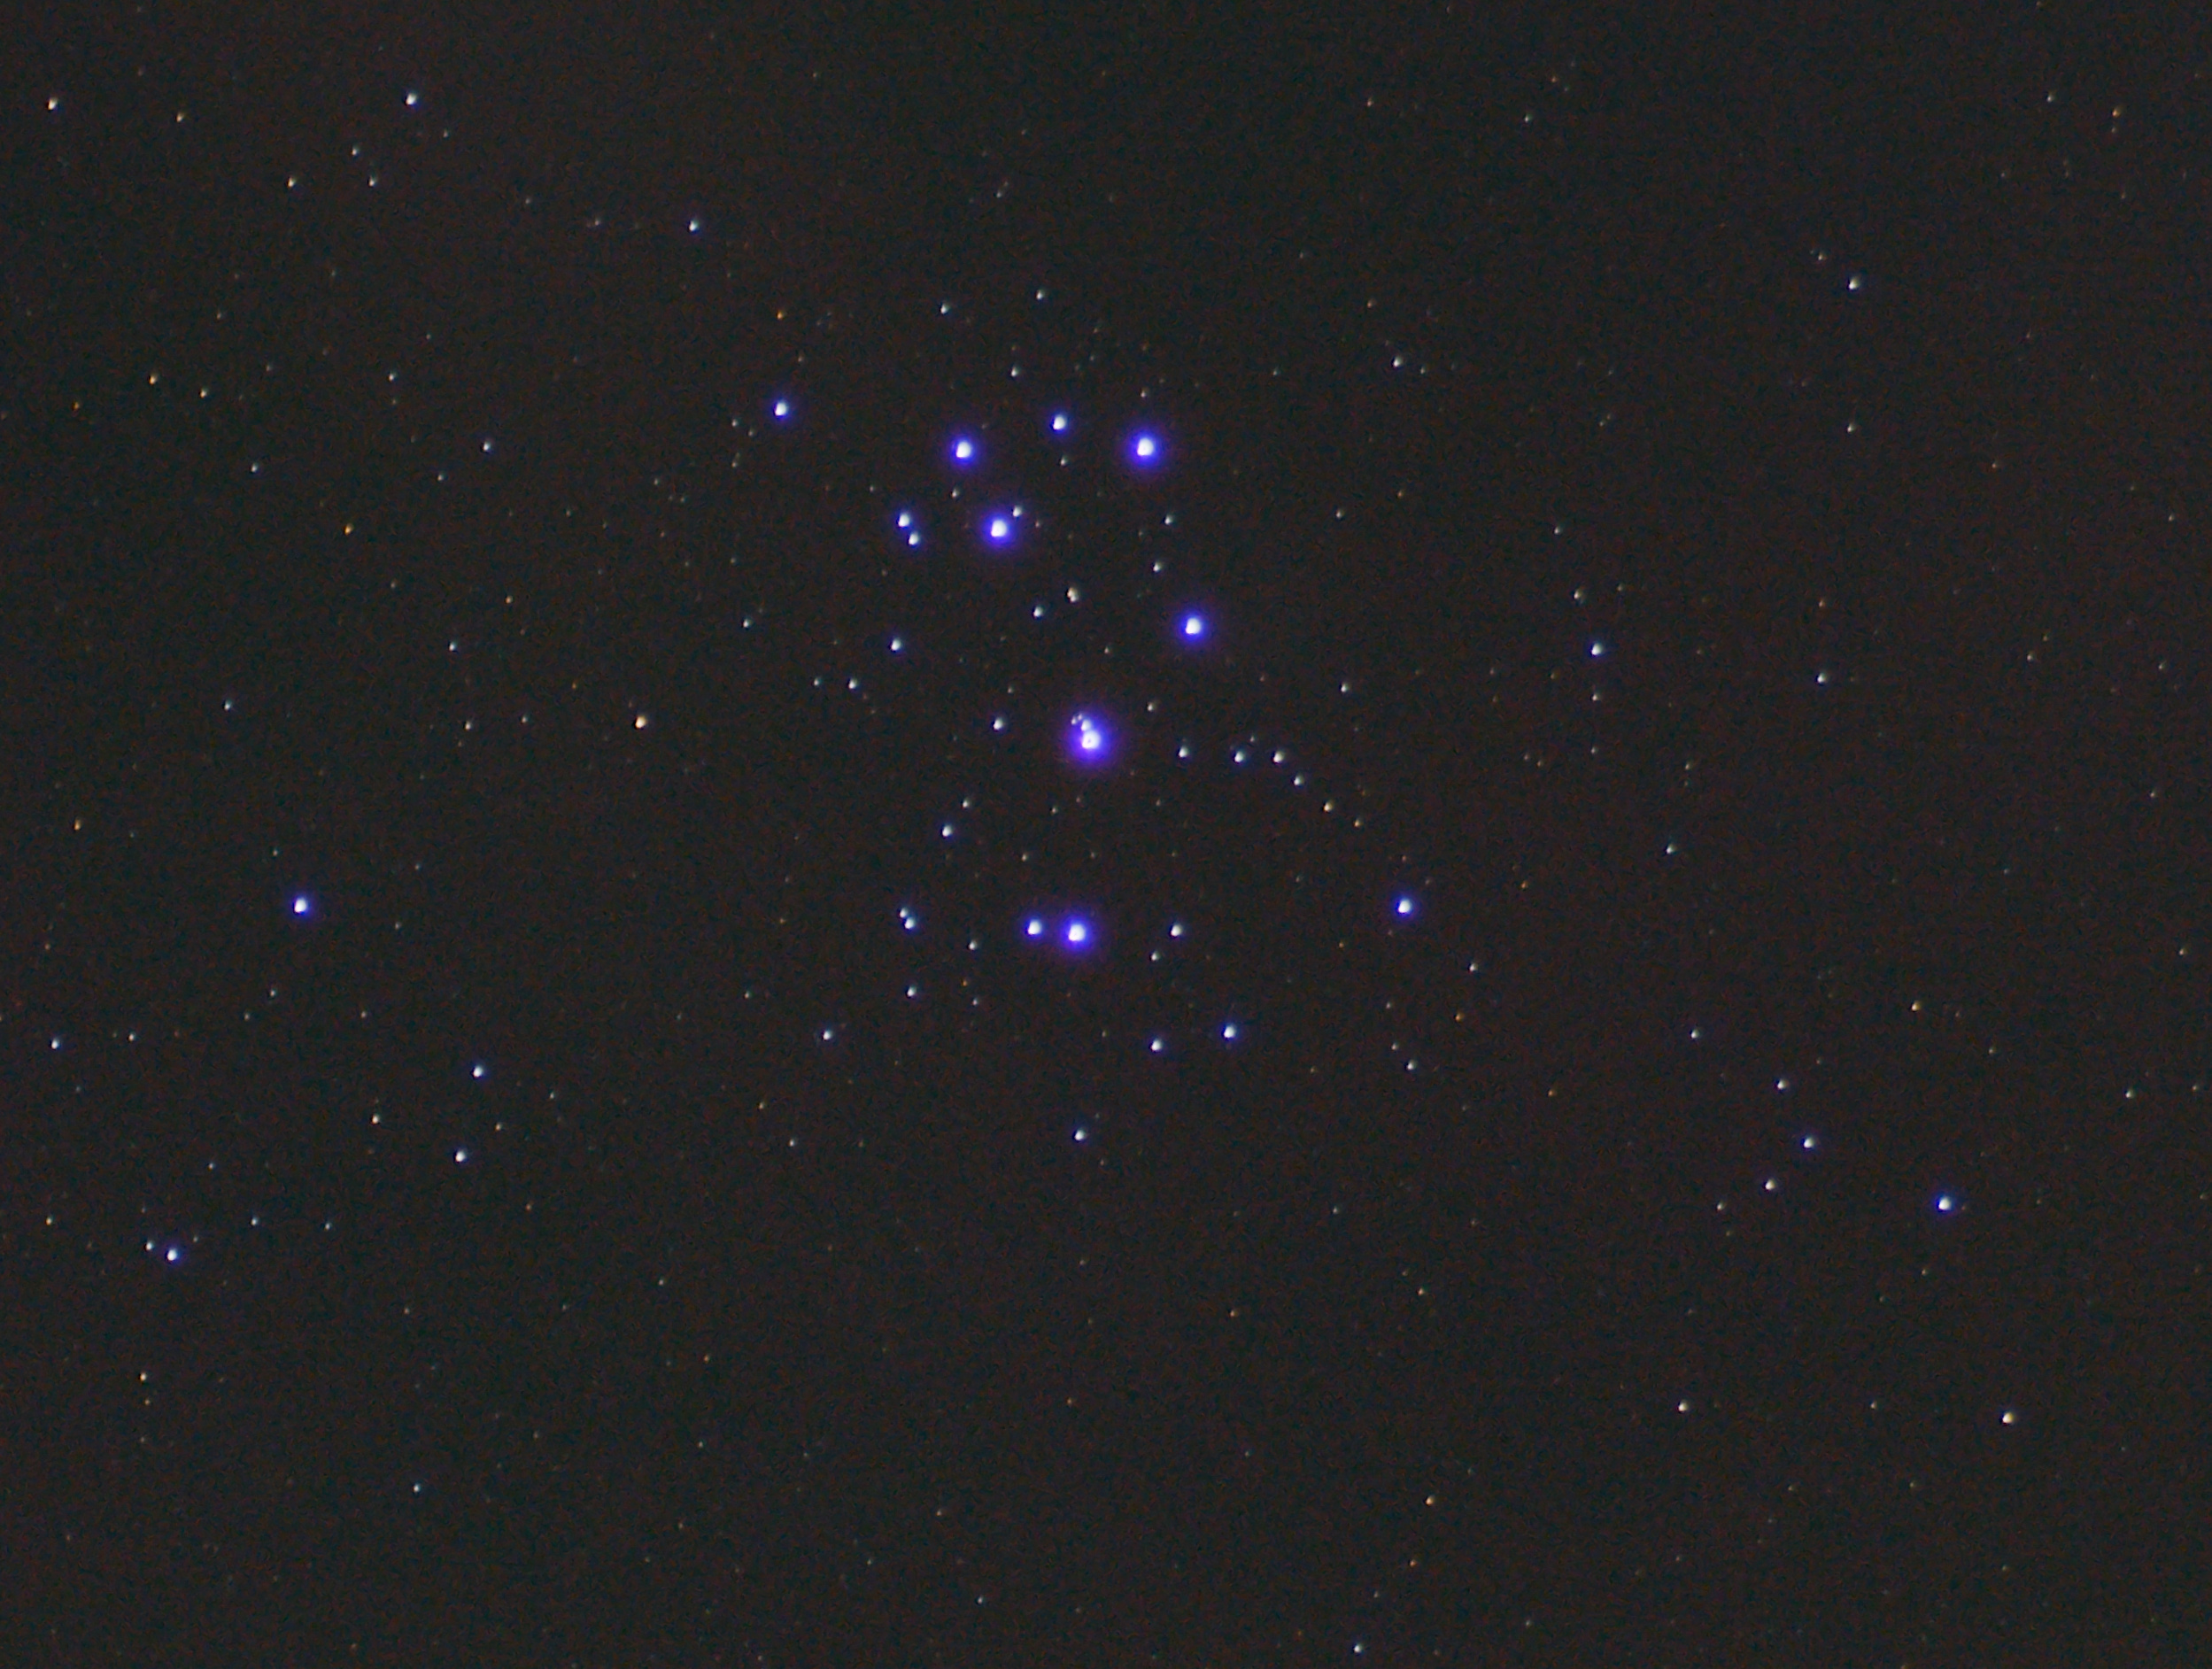
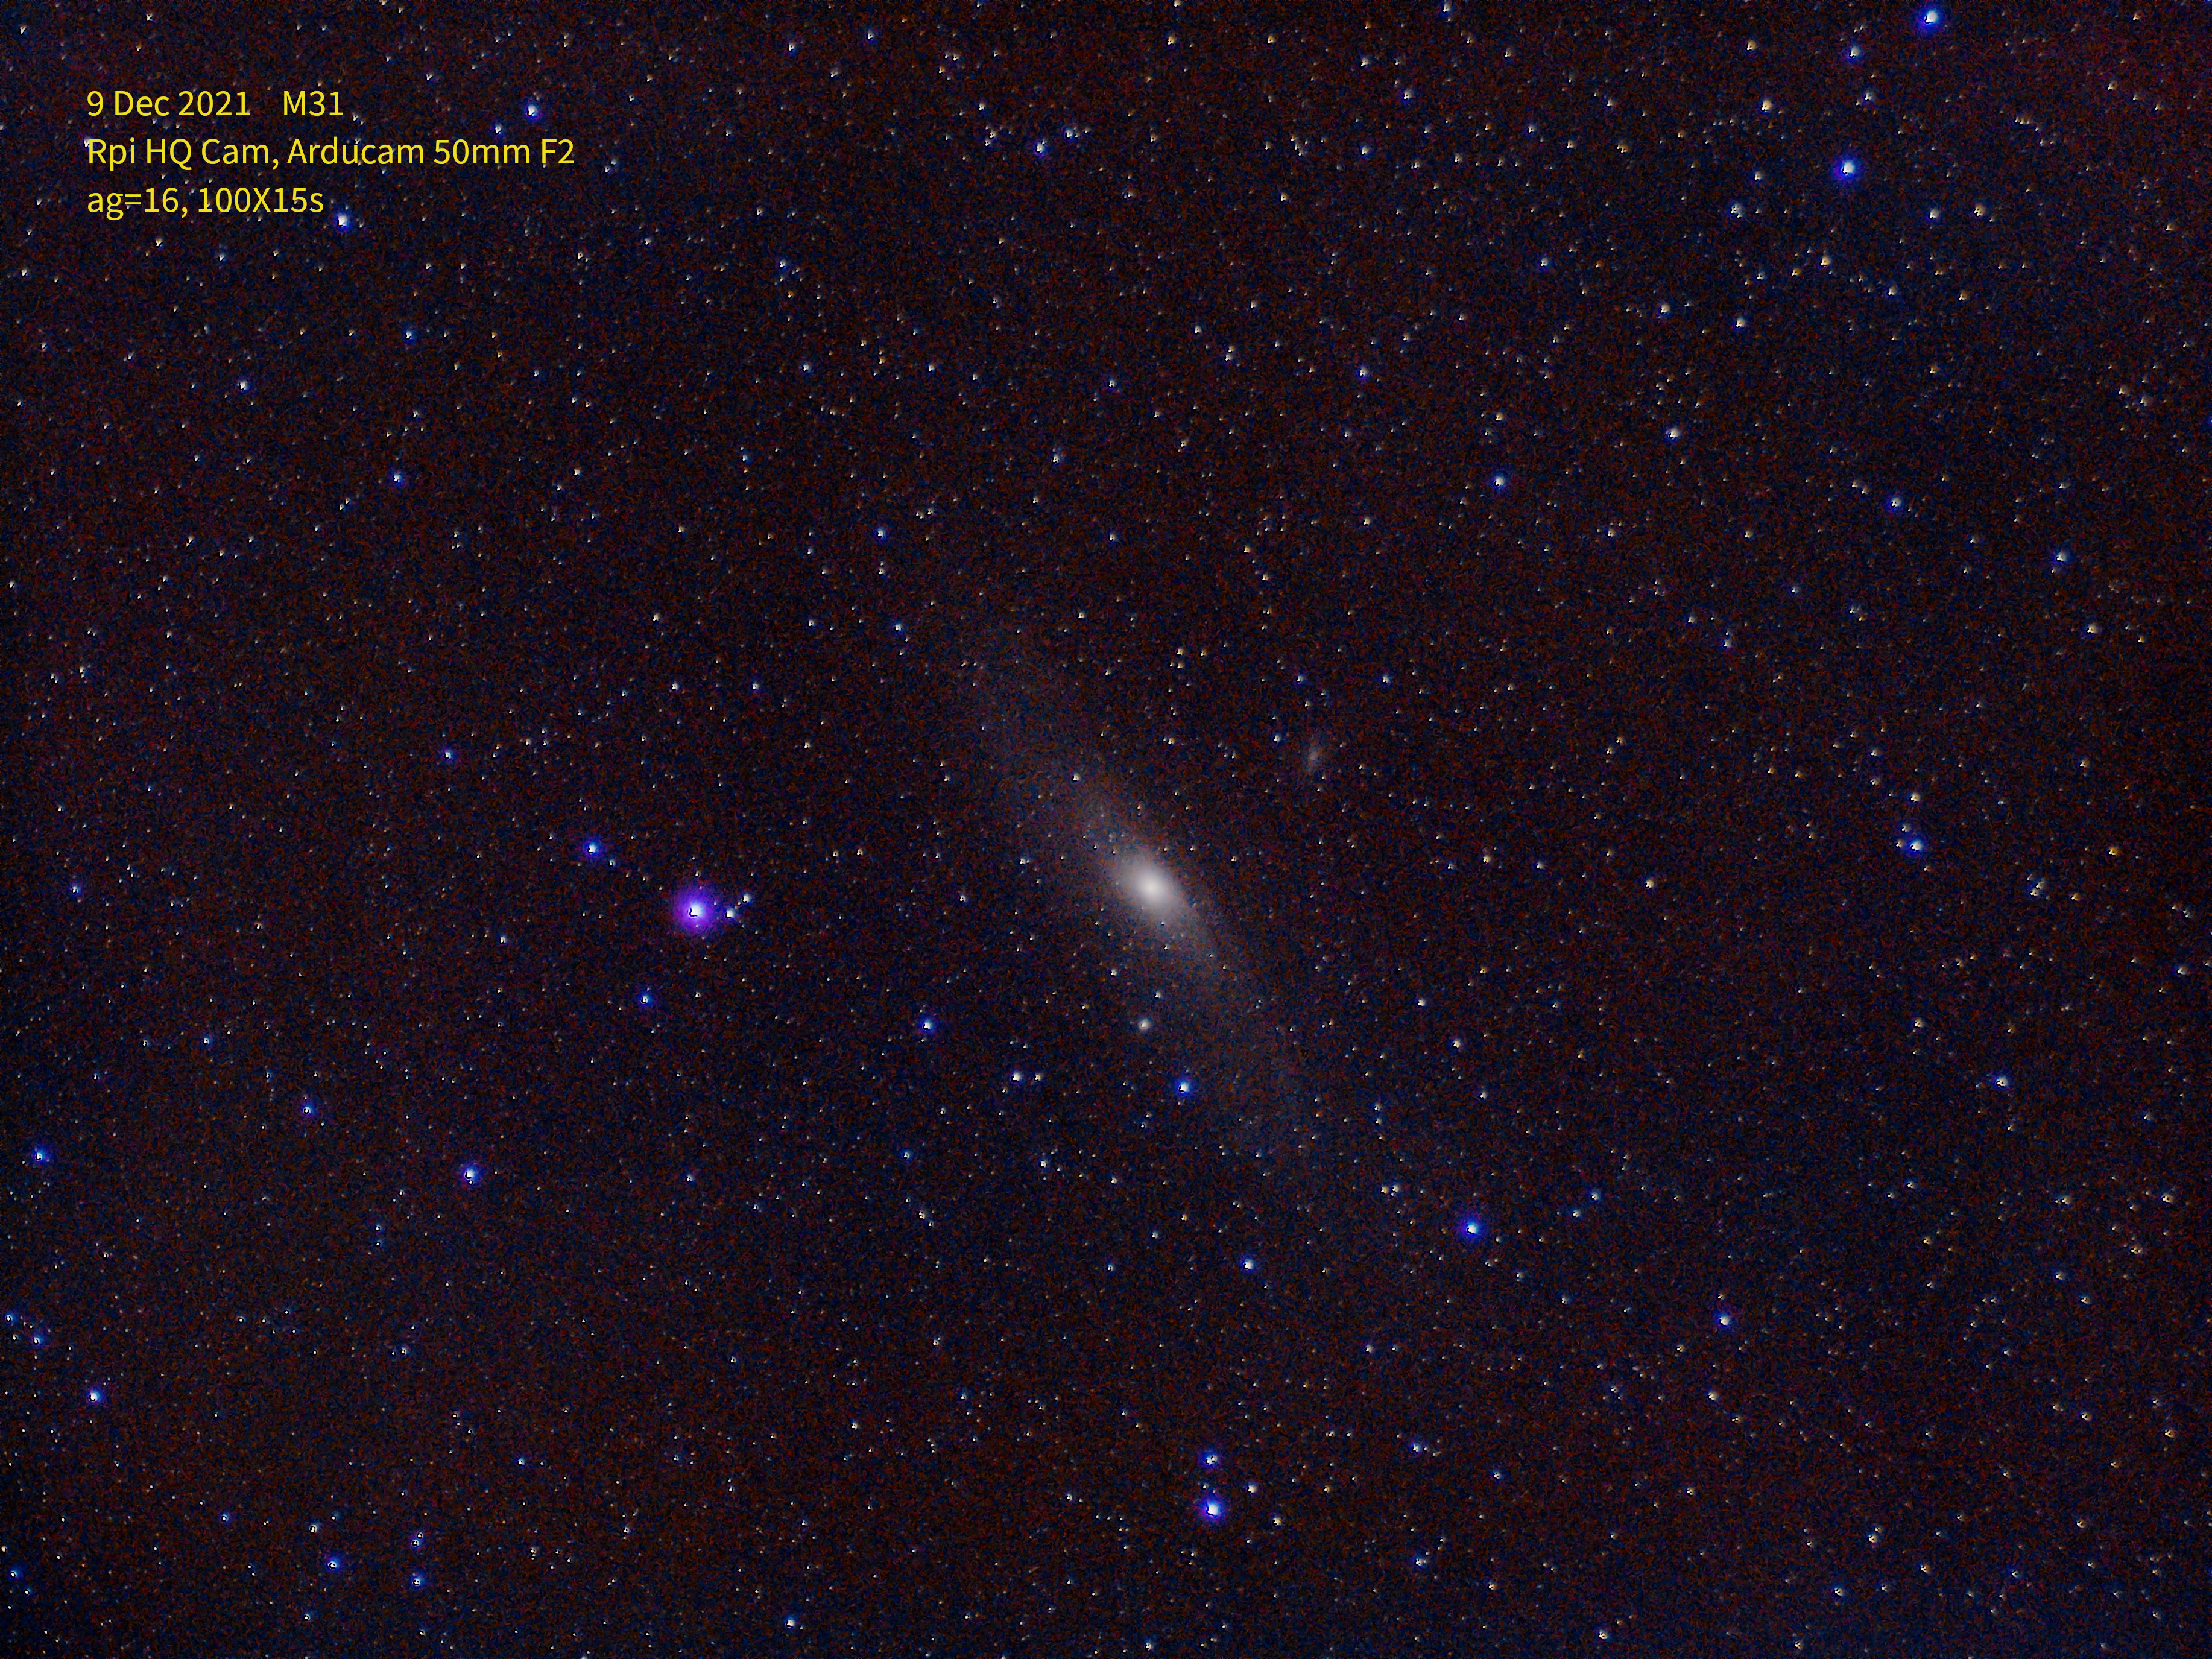
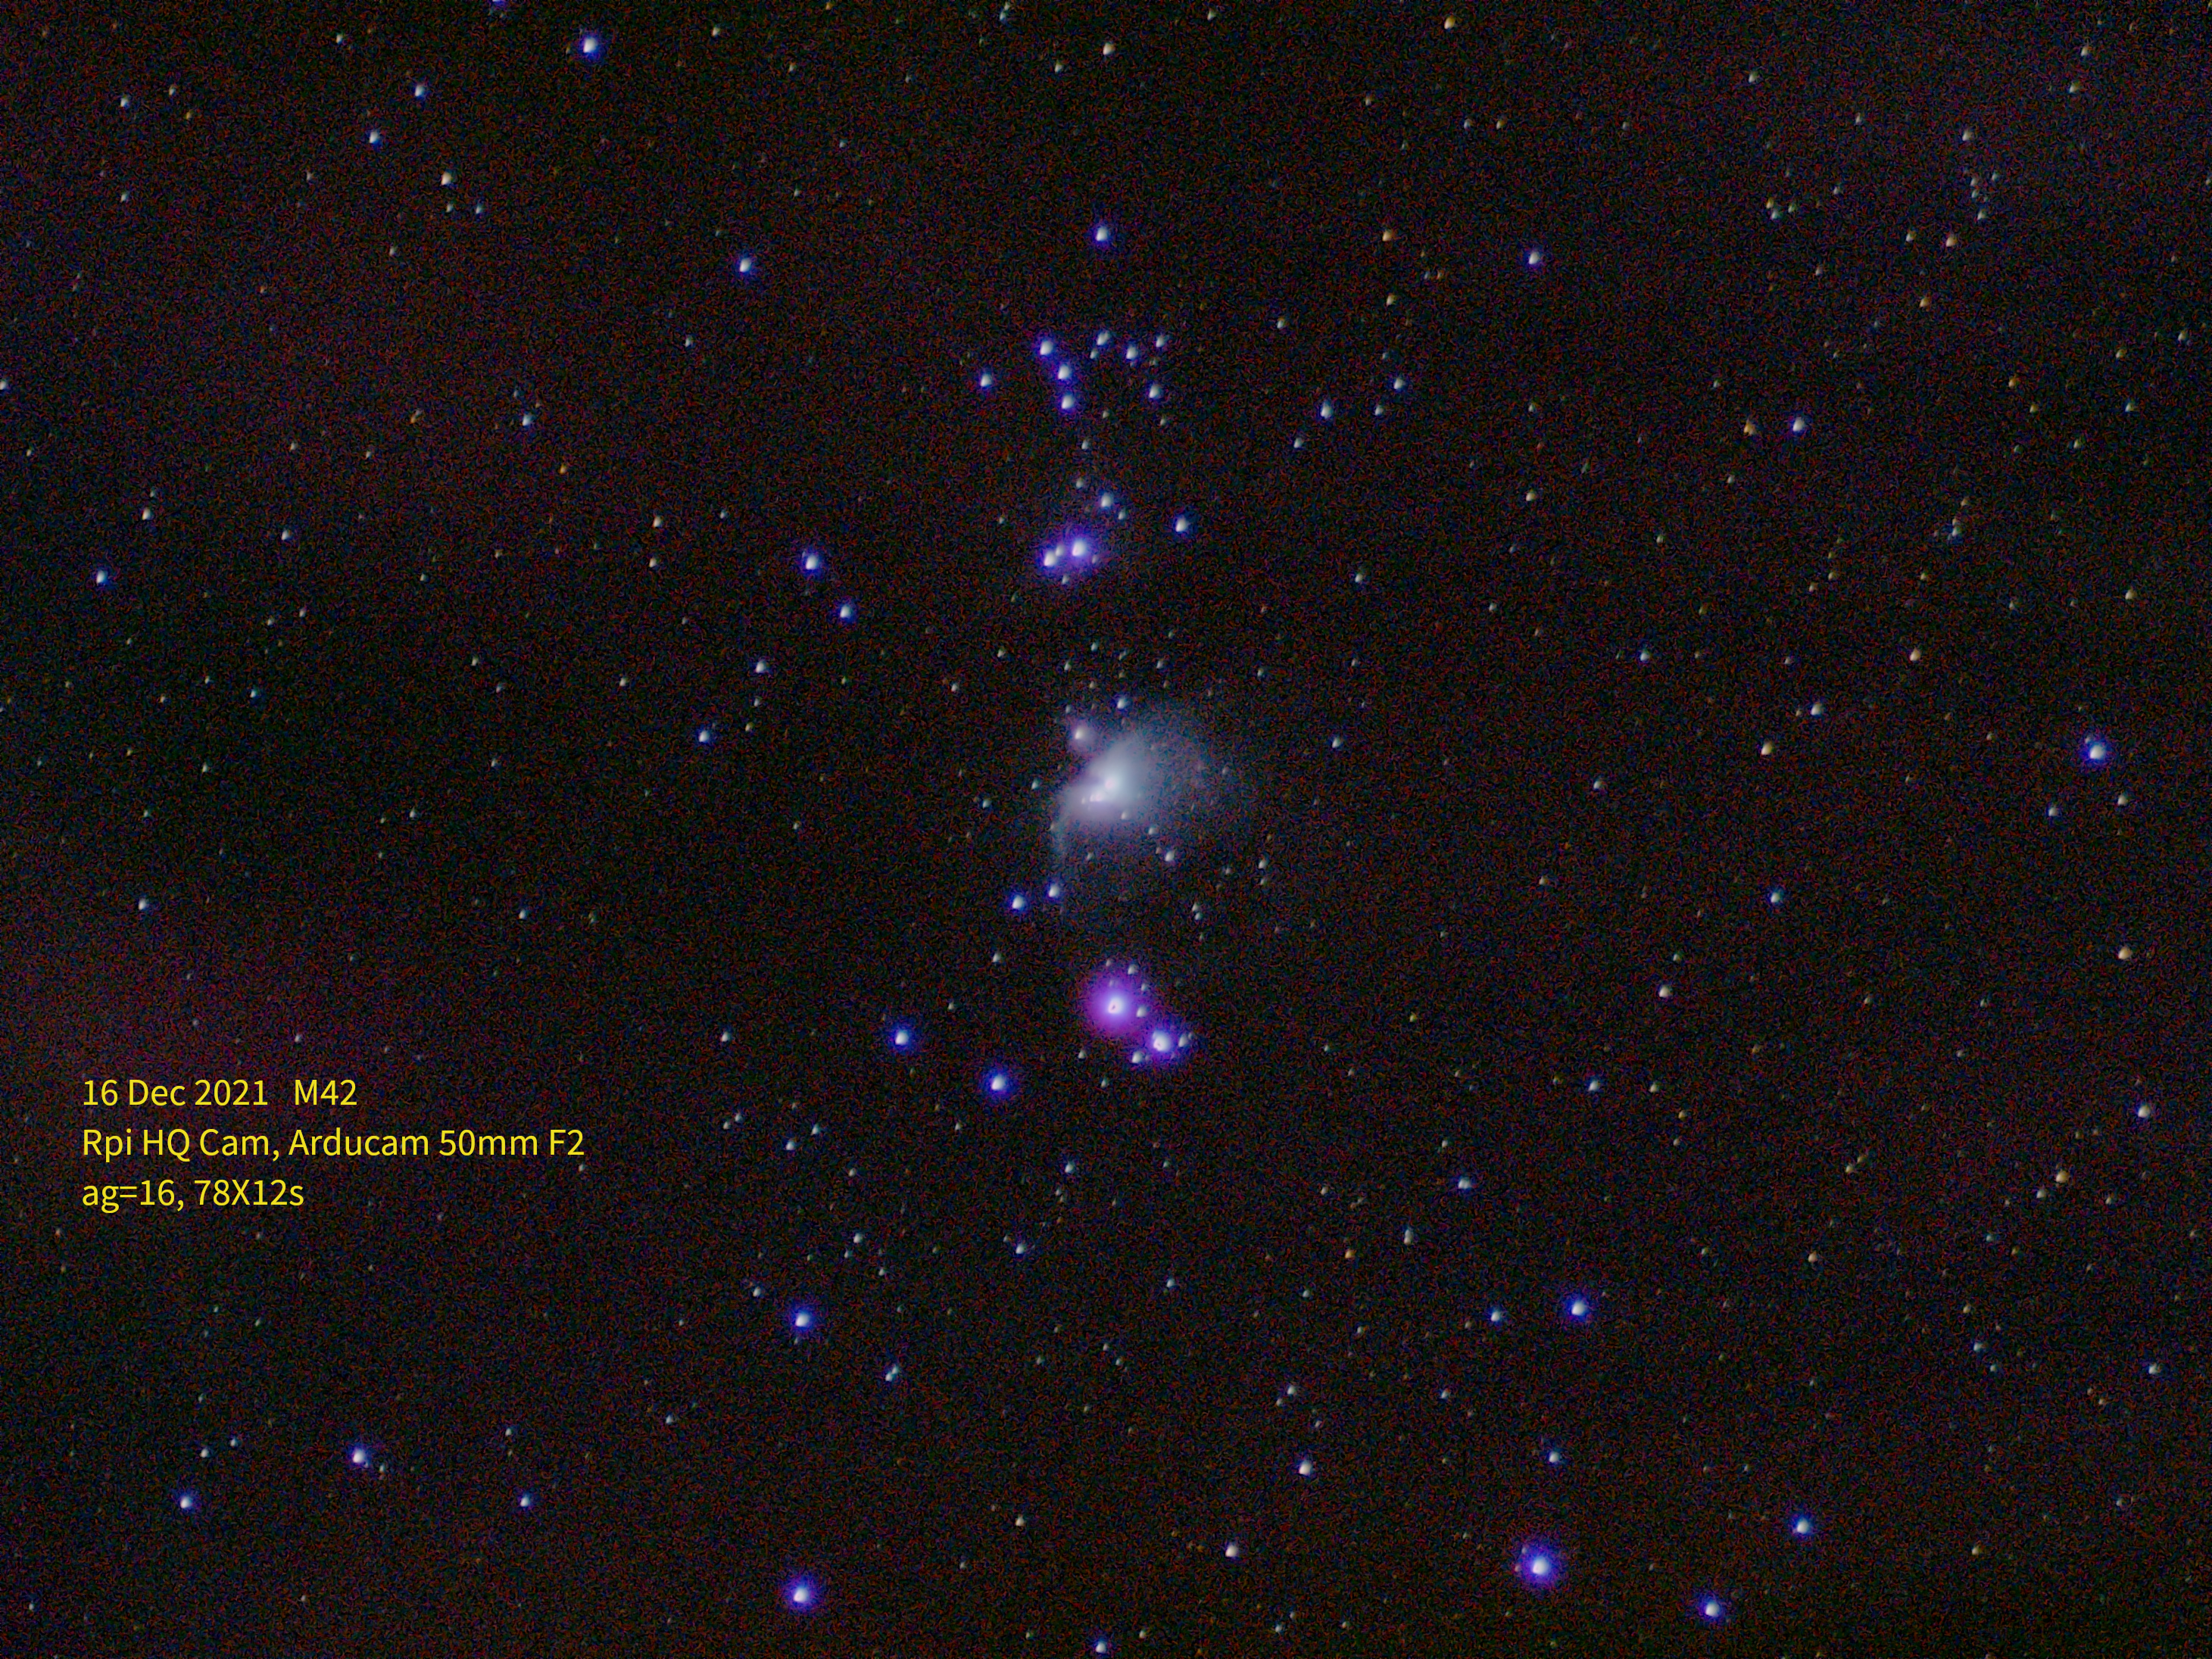
The following, lovely images were taken by Herbert Fu:
M45 galaxy:
M31 galaxy:
M42 galaxy:
Jupiter:
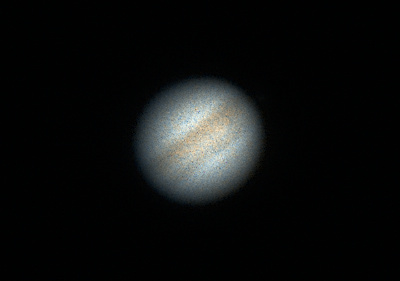
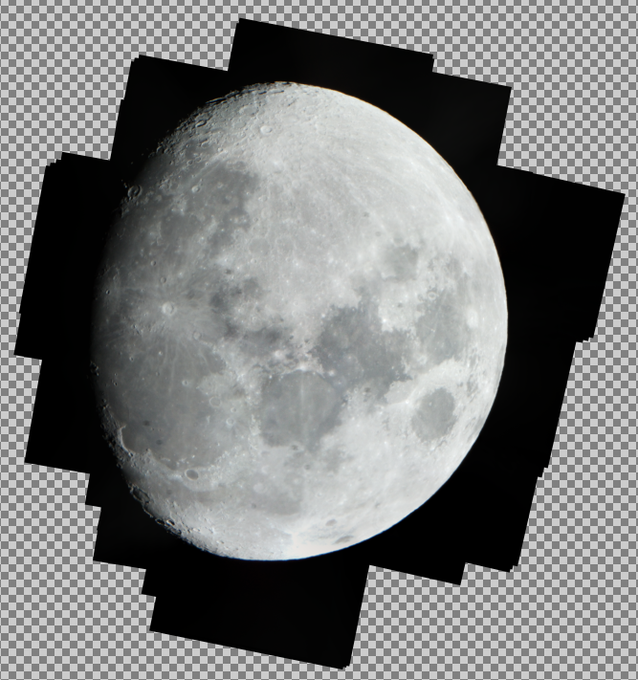
This is an image of the moon I captured:
